
You may have picked up on the fact that we've been quite busy lately. After hosting Easter guests, we were off & running ~ for 5 consecutive weekends. Along with our big bike trip around Cayuga Lake, we made 5 trips to Pennsylvania (3 together, and one each in separate directions). Between the two of us, we visited Scranton, Levittown, Altoona, and Bradford. If you know your PA geography, that's all four corners of the state. Not to mention the time we spent in Milton and Harrisburg (our respective hometowns) in central / southcentral Pennsylvania.
Here is was, as of our purchase date:

And the inside (as of this week) still looked awful as well. Between the residual orange paint, the many dings/scratches/random marks, the crazy weather stripping, the can't-be-cleaned smoke film from the previous owner, and the really dirty blinds, I had really had enough. I basically avoided our living room (and our nice new couch) because I couldn't stand the front door.

Here's a close-up, just in case you couldn't see before just how ugly it was:

Is everyone thoroughly convinced that it was B - A - D?
Not any longer! :)


I used leftover paint from the sewing room dresser to freshen up the frame and both the inside and outside of the door. It's technically just interior paint, but since the front of the door is protected by a storm door AND a covered porch, I figured it would be OK.
I also made a snazzy little roll-up curtain using two pieces of fabric. I simply cut two rectangles of fabric 1 inch larger than the measurements of the window, sewed them together with a 1/2 inch seam, and then flipped them right-side out, stitching around the edge to hold it in place.
Here's the curtain when it is down:

However, I like it even more rolled-up!

The tabs are the only part attached to the door. I wanted to make sure I could take the curtain down to wash and/or iron it in the future, so I added button holes to the tops of the curtain, as well as to the end of the tabs.
When it's removed, it looks like this:

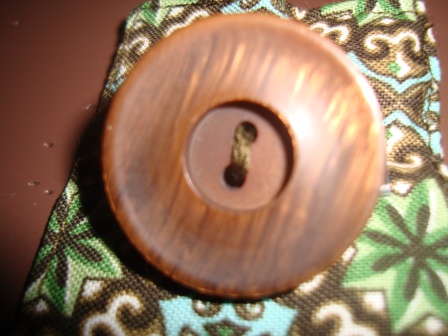
It's attached to the door via a highly sophisticated method known as the staple gun. I temporarily thought it might be cheating, but it was easy, and the buttons hide them, even if you're up close. And no one will ever be this close:
I was also inspired in all of this door renovating to make a wreath for the front door with a grapevine wreath, some dried flowers, and ribbon from Michaels.

The wreath is also attached to the door using my friend, the staple gun. I just stapled the ribbon to the top of the door. Even if I change the decor down the road, no one will see tiny holes on the top of the door. It's the same method I used to hang my yarn wreath in the sewing room, which has worked well thus far (with lots of opening and closing of the closet).
Not a bad weekend, overall! It was nice to spend a weekend at home; especially one that will make our future comings-and-goings more sweet!


Annnd...because as I wrote when I introduced this blog, do-it-yourself house projects make me want to shout from the roof-tops and tell the world....I'm linking my project to the DIY Project Parade at The DIY Show-off.

No comments:
Post a Comment